Pisanki comes from the Ukrainian and Polish word originating from the verb pisać, which means “to write.” It refers to decorated easter eggs in Poland.
This technique of decorating Easter eggs has originated in Eastern Poland as a pagan tradition, predating the celebration of Easter itself.
After the cold winter, Pagans used to decorate chicken eggs as a symbol to celebrate spring, fertility, new life, and renewal through the green.
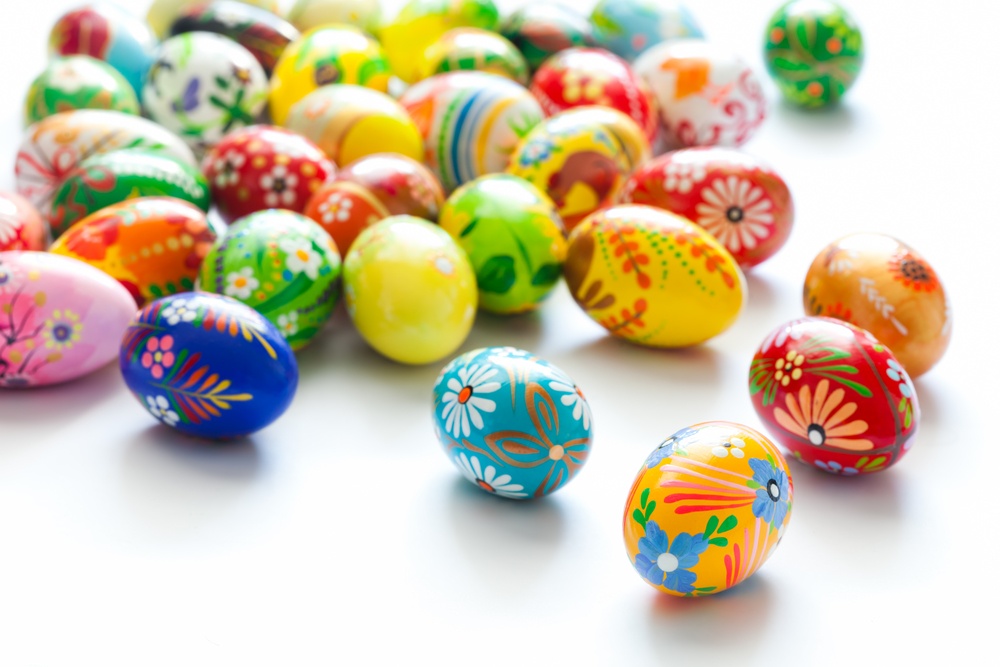
Today, these elaborately painted eggs are part of the Easter tradition in Eastern Europe. Find the guide below if you wish to learn how to make them yourself!
Types of Polish Decorated Easter Eggs
There are an interesting variety of egg decoration techniques developed by the Polish. Throughout the years, natives of the land have come up with different methods to represent polish culture as part of their easter traditions. Let’s get to know these different methods used to decorate eggs –
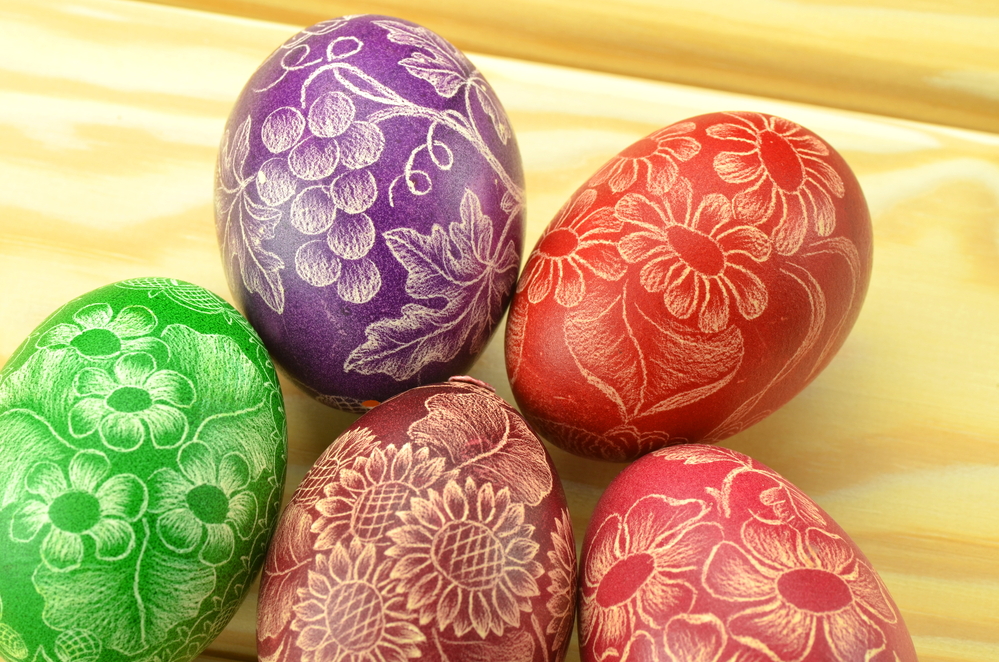
Skrobanki
First, we have the Skrobanki. These are mesmerizing to look at. If you’re an admirer of a decorated egg, you’ve surely scrolled past these on Etsy.
These Easter eggs have a single color. Traditionally, the shell of the egg is colored using natural dyes, like onion peels. The design is etched on top of the color.
Malowanki
This technique is often called Kraszanki. Decorating an Easter egg like this one has a strict requirement – dyes are to be taken from mother nature and their magical properties!
The crafter boils them in a particular substance for coloring easter eggs like these. For example, onion skins are used as a red dye, and turmeric makes an excellent yellow dye. Rye sprouts are used for a green shade.

Eggs with a pattern onion peels. Preparation of Easter eggs for dying with onion peels. 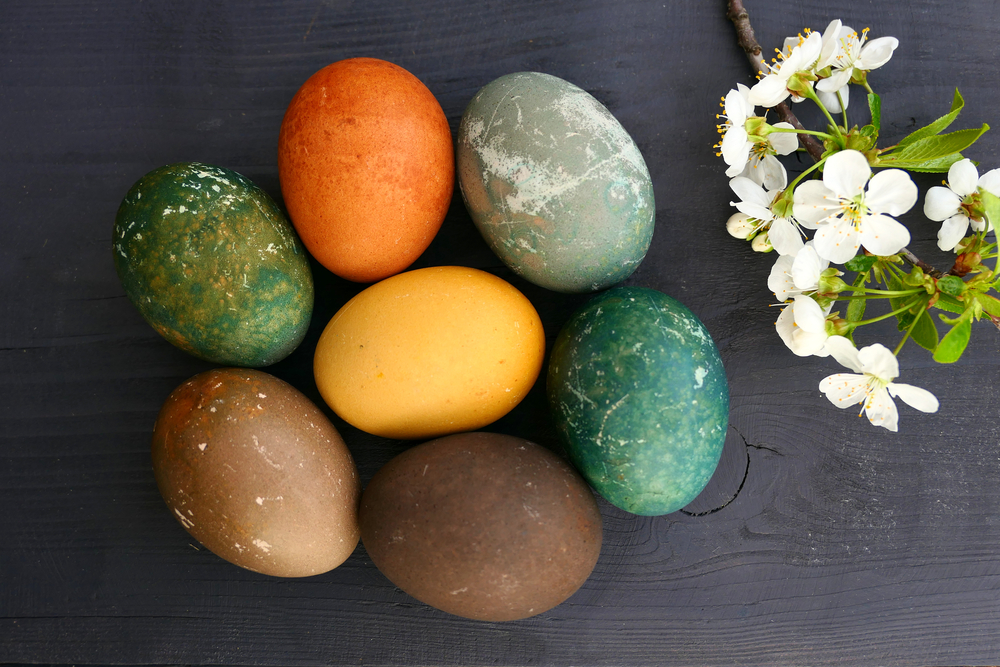
Naturally dyed Easter eggs.
Batykowane
This is one of the most common techniques of decorating easter eggs. It is done in two steps. First, using melted wax, the crafter designs the eggshell. The design may be easter symbols or polish folk art.
After the drawing is complete, the eggs are dipped in dyes. The crafter may add more wax and dip in more dye for a layered effect.
In recent times, crafters do not always adhere to the traditional ways in terms of dye choice. Chemical dyes are often used on the egg instead of onion skins or beet. Whether green, yellow, or red, chemical colors are almost always more vibrant and long-lasting than their natural counterparts.

Preparing for painting Easter eggs decorated with folk designs using a wax resist method. 
Pysanky, Easter eggs decorated with wax-resist dyeing technique.
Oklejanki
Another old polish method of decorating Easter eggs, this decoration technique involves the use of yarns made from Bulrush. A similar rendition of this is gluing pieces of colored paper on the egg, a method popular in central Poland.
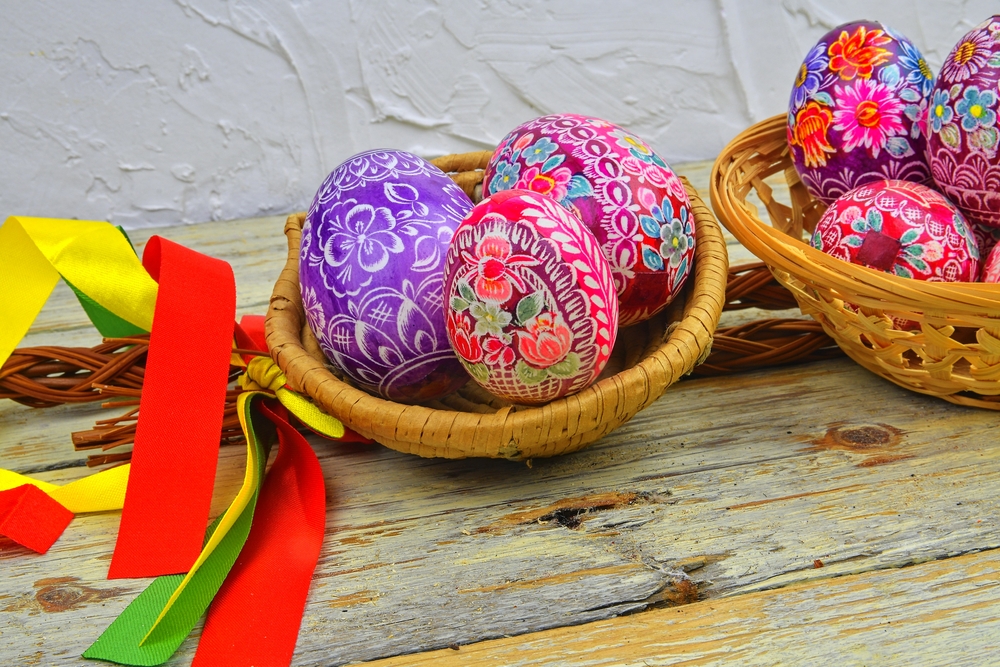
How to Paint Polish Easter Eggs
Be it the celebration of Holy Saturday or the upcoming spring season, Pisanki eggs are such a pleasure to the eyes that you don’t need an excuse to make them.
In the following section, we will look at the 10 steps needed to bring the shell of an egg to life through the colorful techniques developed by the Polish.
Things You Will Need
Here is a list of things that you’ll need to make an incredible Pisanki egg-
- Chicken eggs (duh!)
- Vinegar (to make the color stick on the egg)
- A pair of Latex gloves (for when things get messy while painting)
- Hammer and nails
- A bowl for washing the easter eggs
- Wax
- A container to melt the wax
- Dye (this can be food coloring, or you can use specialized color dyes found online)
- Saucepan and a small pot (to boil and contain the easter eggs)
- Pencil (to draw patterns)
- Spoon and a little wooden stick
- Paper to clean the easter eggs
Now that we have everything covered let’s move on to the process of making an egg into a Pisanki.
Directions
Follow the process below to make yourself a beautifully decorated egg –
Step 1: Preparation
First, prepare a mixture using a bowl of water and 1/8 cup of vinegar. After soaking the eggs in the mixture for 5-7 minutes, rinse them. With the paper, wipe the eggs until they are squeaky clean.
Step 2: Making Your Tools (Optional)
In Poland, a writing tool called kitska is used to design the eggs with wax. However, they’re not widely available and might cost you some extra bucks.
Instead, you can make one for yourself. One method is to attach a needle to a pencil’s back. You can also hammer a nail to a wooden stick.
Step 3: Draw Guidelines
Now, to lay the foundation of your patterns. Using a pencil, draw the outline of the painting you want to make on your Pisanki. Do not skip this step and freestyle the painting because you will end up with subpar results.
Guidelines are useful to make a sharp and accurate design on your easter eggs.
Step 4: Preparing Dyes
Now comes the exciting part. The kind of dye you’re going to use depends on the type of Pisanki eggs you intend to make. If you plan to eat the eggs later, use food coloring.
Batik dye can be used for a more vibrant design. So, use that if you want to preserve the egg as a showpiece. Water the dye in a 5:1 ratio and prepare the paint.
Step 5: Prepare the Wax
Melted wax is another crucial component. Cut the solid wax pieces and put them in a small pot. Then, fill a bigger pot with boiling water and hold the smaller pot with the wax over it. Keep it there until the wax is melted.
Step 6: Write with the Wax
Using a kitska or its makeshift counterpart, start taking drops of wax to cover the outlines. Soon, your easter egg will have a nice texture.
If you got rid of the egg whites and yolk, make sure to shut the hole with some wax before dipping the easter eggs into the dye.
Step 7: Dying the Eggs
Take the egg into a spoon and dip it into dye for 15 minutes. If the egg is empty, hold it down with the spoon. Make sure the entire egg is covered in the solution.
Step 8: Repeat for More Layers
After you bring out the dyed egg, add wax on the parts you don’t want to dye next using the kitska – repeat step 7 with a deeper color for more layers of painting.
A light color, such as yellow, should go first when layering. Gradually go darker as you add more layers. Don’t forget to keep the wax melted!
Step 9: Removing the Wax
After you are happy with your layers of painting, remove the wax from the easter egg gently by melting it. Rinse the slightly molten wax and repeat until they’re gone completely.
Final Words
Word has is that Pisanki eggs live forever in Poland. Whether that’s true or not, there’s no denying that Easter is one of the grandest occasions of the year.
To have quality time with friends and family, try decorating Pisanki eggs together as an activity. We hope you have fun! Wishing you good health and a Happy Easter. Thanks for reading!

 Based on 2 Review(s)