Welcome to our pinkeep class! Almost any small design can be turned into a pinkeep. They are very easy to put together and quite addictive!
For a materials list, please go here.
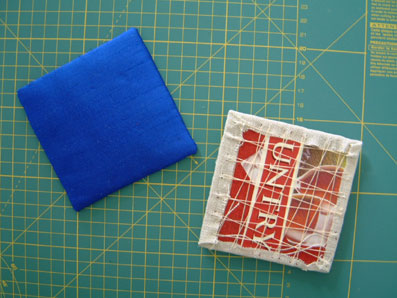
1. First, decide how big you want your pinkeep to be. Measure your design, allowing a little extra round the edges for a border.
Cut out two pieces of card the size of your measurement. (The card can be any stiff card – I often use cereal packets or wine boxes!)
Cut out two pieces of batting the same size.
Cut out your design, leaving spare fabric for the border plus about 3/4″ extra all round.
Cut a piece of coordinating backing fabric the same size as your design piece (not shown here).

2. Place one piece of batting on each piece of card. You can glue the batting lightly in place if you want, but glue isn’t essential.

3. Take your backing fabric and glue or lace it to one piece of card/batting so that the batting side is neatly covered. Try to make the corners as neat as you can.

Repeat with your stitched piece and the remaining piece of card/batting.
Both pieces can be either laced or glued. I have shown each method here but if you don’t like glue near your stitching then just lace both sides.
4. Optional step. Glue the two pieces together so the fabric sides are outermost. If you don’t want to use glue you must sew the pieces together as in step 5.
5. Using a coordinated sewing thread, ladder stitch the front and back pieces together along the edges as shown. A curved needle makes this much easier. Pull the thread gently to secure the pieces together and make the edge neater.
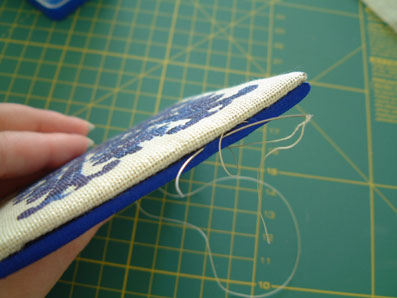
NB. Glue may hold the pinkeep together alone but sewing the pieces together makes it more secure and neatens the edges.
6. Use coordinated pins to pin ribbon or cording around the edges of your pinkeep. You can decorate with a bow at the top if you like.

NB. The pins should hold the ribbon in place without any need for sewing or gluing it on.
And there’s your pinkeep finished! Easy to do.
I hope you could follow the tutorial and enjoyed it. If you have any questions, please leave a comment, and please do share photos of your finished pinkeeps with us!

 The first one I made was Full of Hope, Mary Kathryn’s first design.
 The next pinkeep completed a set of smalls I made for my mother.


